Don't you just love eating fresh berries only to discover a bunch of mushy, moldy ones at the bottom? Yuck! A pretty bowl may be just what you need. Ever wonder what goes into making a berry bowl? A lot! Let's take a closer look at what I do.
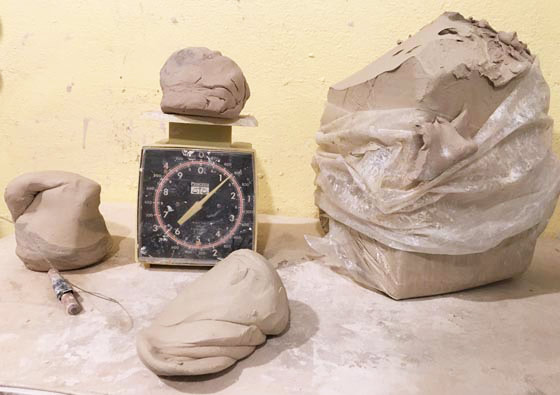
I weight out just the right amount of clay. I need 1.5 lbs for the bowl and about 1 lb for the tray. Wedging clay is like kneading bread. I have a mantra when I am wedging ... push down, turn, push down, turn. If I don't get this part right, I end up with very annoying pockets of air in the clay.
Here is a video of me "throwing" the bowl.
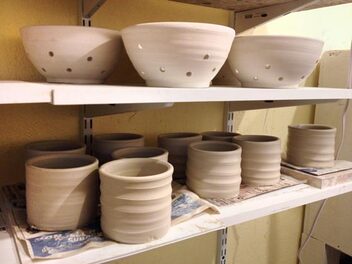
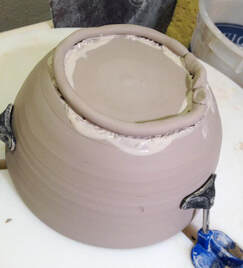
The pieces are left to stiffen up to "leather-hard" on my shelf. This means the pieces are still moist but hold their shape when I pick them up. Now it is time to trim the bottoms. Placed upside down on the wheel, I use my favorite trimming tools to carve a smooth, finished bottom. Sometimes I add a foot with a rolled piece of clay.
After trimming the bottoms, I transform ordinary bowls into a berry bowls! Grab a seat, a Diet Coke and some Dorittos and watch me carve numerous holes into each bowl. Sometimes I make a pattern and sometimes I just freeform it.
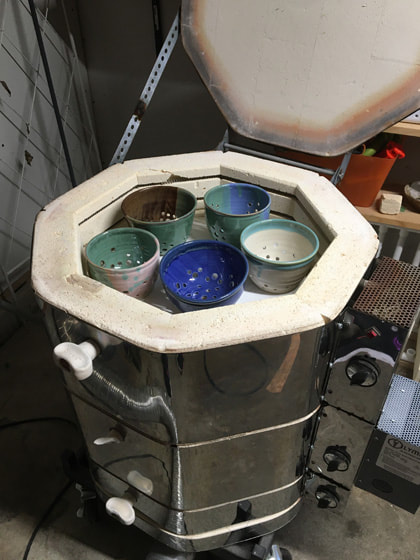
The pots are loaded into the kiln for their first firing. The kiln heats up to 1,985 degrees and dries out the pots. Now they are ready for glaze.
The pots are then loaded back into the kiln for their second firing. This is where the magic happens! The kiln heats up to about 2185 degrees for about 13 hours and then cools down very slowly.
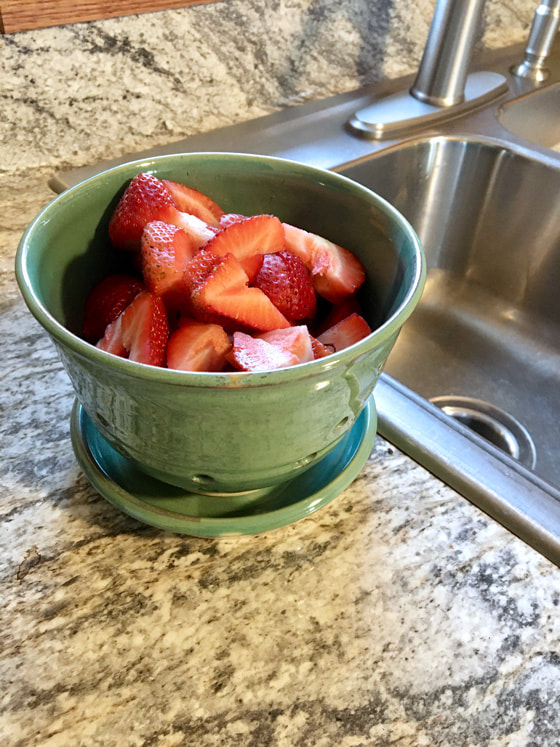
So, what the heck do you do with a berry bowl? Well, it's a mini colander. You can rinse berries, tomatoes, carrots, broccoli, anything really. My berry bowls always come with a tray so the excess water drips out. No more mushy berries at the bottom! And, you can even store the bowl right in the fridge just as it is. Your berries will stay fresher, longer!
 RSS Feed