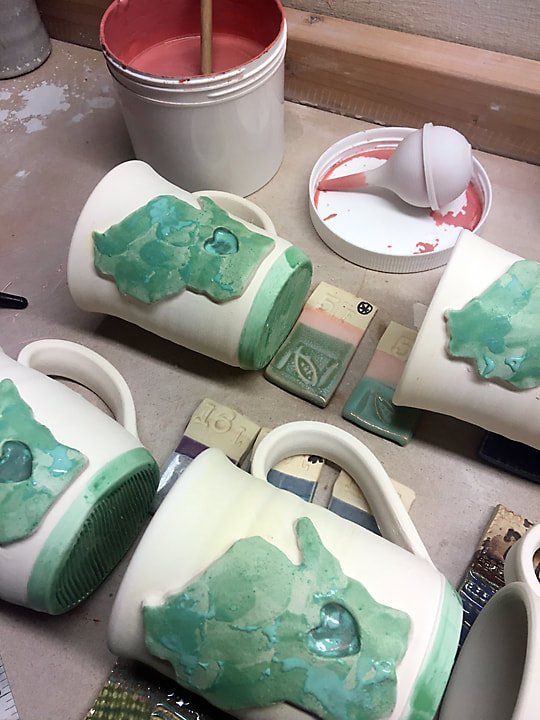
Today is a glaze day! And a small batch of Wisconsin Mugs are getting ready for drippy amounts of luscious, creamy glaze. I have goals for refining my glazing process and am trying very hard to follow them. Glazing a large amount of biqueware can be very intimidating.
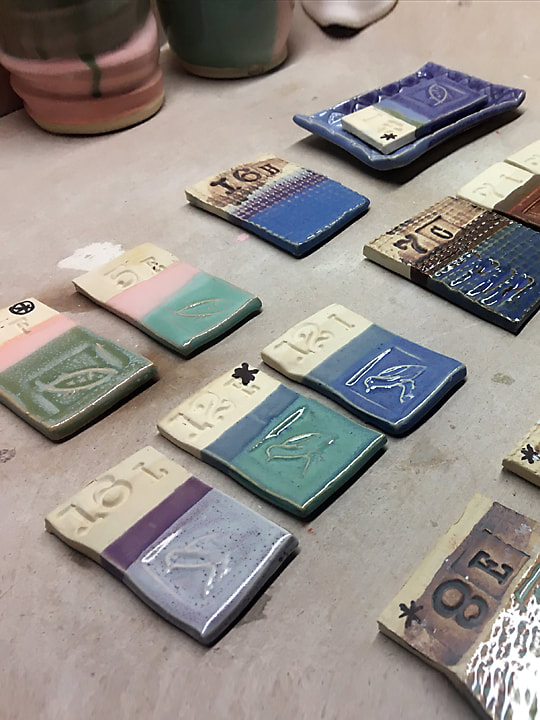
If I have a plan and glaze in groups, the process becomes much more enjoyable. So many choices of glaze possibilites are laid out before me when I stare at 144 sample tiles. That's too many choices! My goal is to narrow down the options and have a few really great combinations that I stick to. Each tile gets a star if it's winner and I make notes in my books, too.
Because I like to make lists:
1. Unload the bisque kiln
2. Rinse all pots and scrub bottoms
3. Let air dry for several hours
4. Wax all bottoms
5. Let air dry
6. Group pieces according to glaze application
7. Glaze insides, let dry
8. Glaze outsides, let dry
9. Take notes as I go for each grouping
10. Test specific gravity as I go and record
11. Let all glazes dry in front of fan
12. Clean up bottoms and rub out nicks
13. Load kiln for a glaze fire
14. Take more notes


 RSS Feed