Photographing my work is important and getting consistent angles, views, and lighting is always the goal. I've always photographed my pottery outside on a cloudy day on my back patio steps under our awning. It's the perfect set up because there really isn't any set up! But sometimes shooting photos in winter gets pretty cold. This fall, I attempted building a put-up/tear-down photo studio on my glazing table - but I'm not sure it's working that great. Here is a picture before I attached my cell phone to the tripod. I recently purchased two inexpensive stand lights with different filters and I'm still practicing. For now, I think shooting outside gives the best results. I will keep practicing, though.
0 Comments
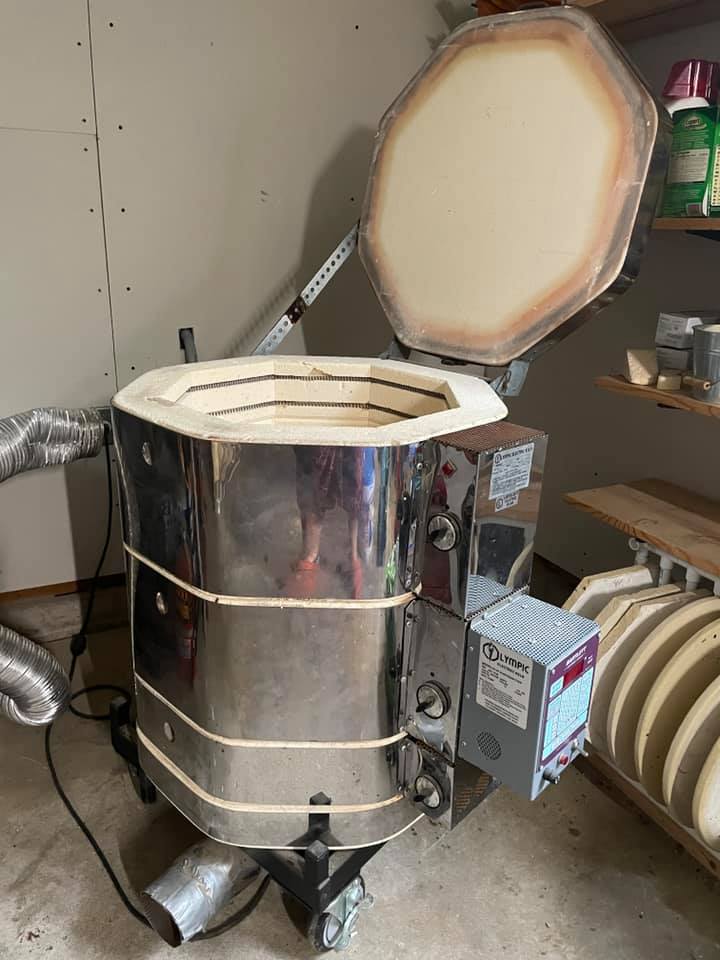
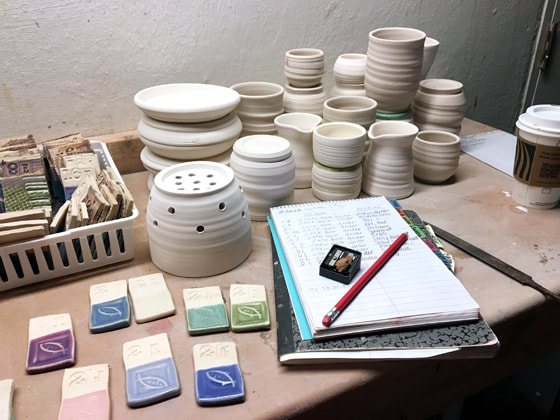
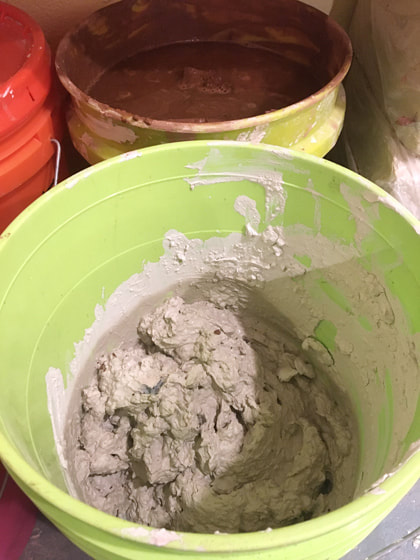
I am conjuring up some pretty nifty things in the studio these days and I am excited to share a few of them with you today. Sometimes when I take extended breaks from creating, it is very hard to get back into the groove. But, when I am in the groove it is hard to stop! I get so many great ideas for new creations that I can't get stuff made fast enough!
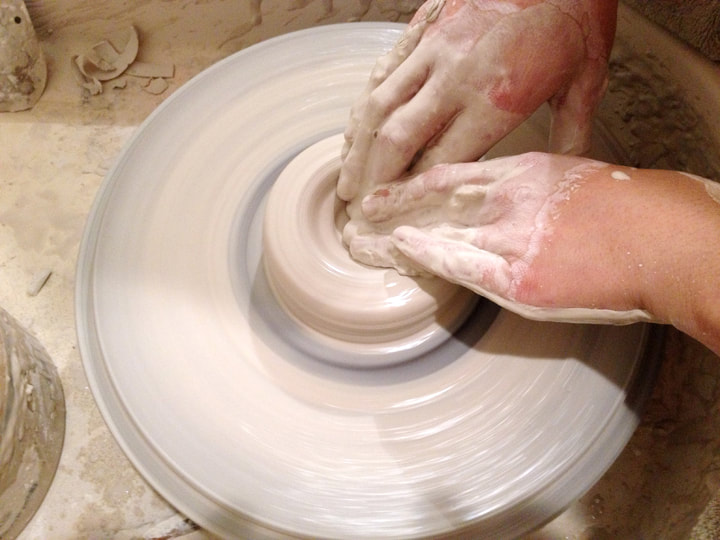
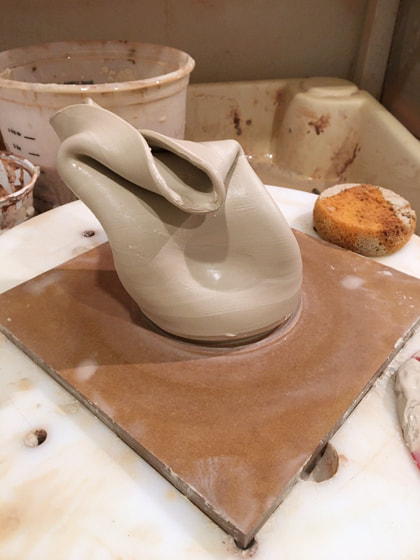
These unique jars combine a few different processes. You are seeing "round 3" of their mostly flushed-out design. They are wheel-thrown into a completely closed shape, but hallow inside. I poke one tiny hole in the side so air can escape as it is left to dry and stiffen up a bit. Later, I carve out an irregular scalloped line all the way through the clay and around the piece to make a top and bottom. 
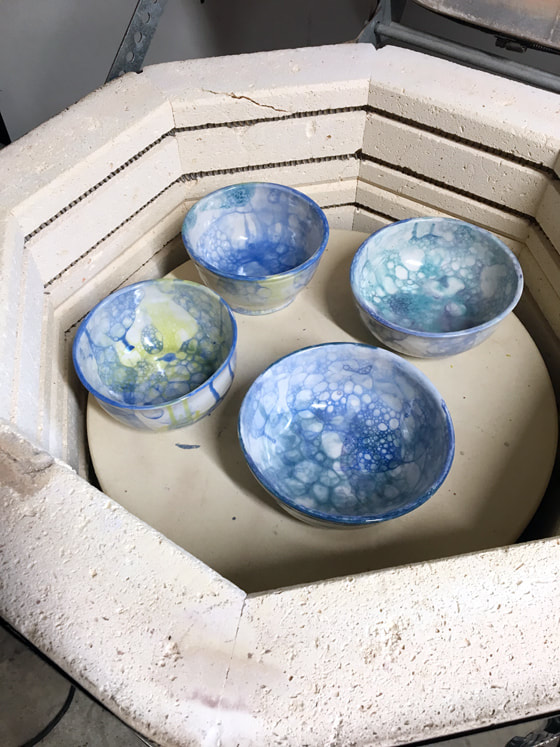
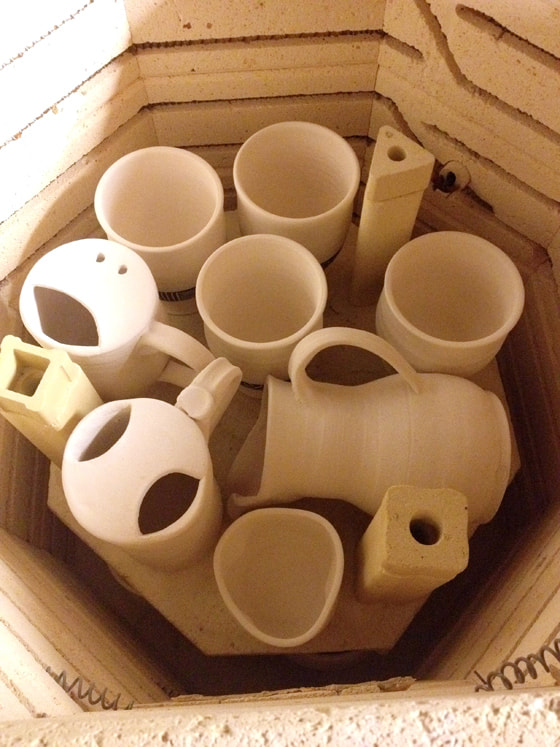
The top which is now the lid has received colored slip dollops that are like polka-dots and the bottom is glazed with my bubble method. Then they are bisque fired. Then, they will receive clear glaze and glaze-fired. After that, the knob and the feet will be painted with gold luster. Then back into the kiln for a few hours to adhere the gold to the glaze. So many steps! I am toying with what to call them, but I think "Petal Jar" is the winner as I feel this name yields itself an invitation for other matching items. Creating and firing pottery does not come without its headaches! This weekend was supposed to be a successful bisque and glaze fire but when I was ready to turn the kiln on, it shorted and flickered and the breaker blew. Upon trying to turn it on a few more times and then conducting a test fire, I likely killed the coils. Coils should be replaced about every three years and is always a stressful activity. And since I am more of a hobby potter I don’t fire the kiln as often as most more full time potters - so the coils should have lasted much longer and likely burnt out from this mysterious electrical shortage.
I promised myself that the next time I needed to replace the coils, I would just buy a new kiln. I’m ready. I have owned 3 used kilns and feel like I am at that point in my pottery life that it is time. Sooo, I am currently shopping for a new kiln and trying to get over the sticker shock of these things being so darn expensive... Update - a few days later! My new kiln is on order and will likely be here by November! In the meantime, new coils are being installed in my current kiln so that I can continue to bisque and fire. If I did not have this great guy to help me, I would likely have to hire this part out. I’ve replaced the coils before, a nerve racking stressful chore at that, but I could not do any of the wiring. Working on another batch of mugs this week. Attaching handles and Wisconsin shapes to some pretty great pieces. I am hoping to do my first ever shop-restock when the mugs are all completed.
Today is a glaze day! And a small batch of Wisconsin Mugs are getting ready for drippy amounts of luscious, creamy glaze. I have goals for refining my glazing process and am trying very hard to follow them. Glazing a large amount of biqueware can be very intimidating.
If I have a plan and glaze in groups, the process becomes much more enjoyable. So many choices of glaze possibilites are laid out before me when I stare at 144 sample tiles. That's too many choices! My goal is to narrow down the options and have a few really great combinations that I stick to. Each tile gets a star if it's winner and I make notes in my books, too. Because I like to make lists: 1. Unload the bisque kiln 2. Rinse all pots and scrub bottoms 3. Let air dry for several hours 4. Wax all bottoms 5. Let air dry 6. Group pieces according to glaze application 7. Glaze insides, let dry 8. Glaze outsides, let dry 9. Take notes as I go for each grouping 10. Test specific gravity as I go and record 11. Let all glazes dry in front of fan 12. Clean up bottoms and rub out nicks 13. Load kiln for a glaze fire 14. Take more notes This weekend was literally a new era for me and my pottery business. It was the first art fair I've participated in since having a year and a half off over the pandemic. I am laser focused setting up a booth - packing, unpacking, ironing linens, assembling shelves, and lastly the fun part - getting out all my pottery and displaying and arranging it. I love to meet all my fans and get to know them, but it is also a nice time sit with my work and pause a moment. How am I doing? Does this mug shape work with this bowl shape? Do my items look like they belong together? Are my prices fair? I ask questions and write notes down and get ready for all the things I will do the same or do differently. I make lists of items I am out of. And I try to talk to other artists and learn from them.
I would consider myself a self-taught potter. I only had 1 class in college of formal training. I picked it up just like that. Centering, throwing, and pulling walls was very easy for me. After earning a bachelor of fine art degree and concentrating on a career in graphic design, I returned to the wheel after several years being away from it. I took random classes at different art centers and through continuing education programs just to use the studio equipment but I didn't really have any further instruction.
I think all potters are self-taught at some point in the process because there is so much trial and error and good-guess work. I have been working my way through making test tiles for every glaze in my studio. Every glaze is assigned a number and each treatment is assigned a letter. For example, I have tiles for Shelly's Blue, one tile is Shelly's Blue over Zakin's Butter and a second tile is Shelly's Blue under Zakin's Butter. Every glaze is either under or over another glaze on the list. And every combination is accounted for. There are well over 144 tiles just for B-Mix clay alone! And I also use Porcelain, Speckled, and a Brown clay. And, this is only considering 2 glaze treatments. Just imagine if I introduced a 3rd layering of glaze.
I am not quite sure what to do with all this data yet, but I will figure it out. What I do know, is that having gone through this process, it has shown me the possibilities of what combinations are working really well so I can repeat them in the future. Blowing bubbles on pottery is not new concept but it sure is fun! One thing I really like about the pottery making craft is that it is a series of step by step processes. I am a master of efficiency and enjoy the normalcy of process. I line up all the bowls, cups, and trays on my glaze table lined with newspaper. Next to that is several containers of a water, dish soap and colored underglaze concoction. I will need paintbrushes, plastic straws, spatulas and sponges. Underglaze is kind of like paint. Using the straw, I blow bubbles in the mixture and let it fall over the top of the container and land onto the pots. I work in an assembly line fashion and use one or two colors at a time. Let things dry. And then layer more bubble colors on top. It is extremely therapeutic!
You've made a fabulous pot. You followed all the steps, it dried perfectly, your mug handles didn't crack, the bisque fire went well and now you are ready to glaze. You glaze your work, load the kiln, and turn it on. The next day - always so exciting! - you go to open the kiln and you notice several pieces didn't turn out. The glaze looks horrible! Some pieces have little pinholes and others the glaze has crazed. This is how it goes. Sometimes you get the good with the bad. Sometimes I can reglaze the item and it turns out better the second time around, and sometimes that doesn't work so well. Every pottery has a stash of 'as-is' pieces. They make their way to friends' homes as free gifts or they get tossed into a waste bin for their eventual demise.
|
AuthorDiscover secrets and insight into the pottery process in this blog brought to you by potter Amy Hafemann of Saukville, Wisconsin. Archives
January 2024
Categories |